After the development of applications for data collection terminal Android-smartphone in quite a short time the application was implemented for data collection terminal devices based on Windows Mobile.
We describe the process of installing the application in data collection terminal Dolphin 7850.
We have a terminal the following:
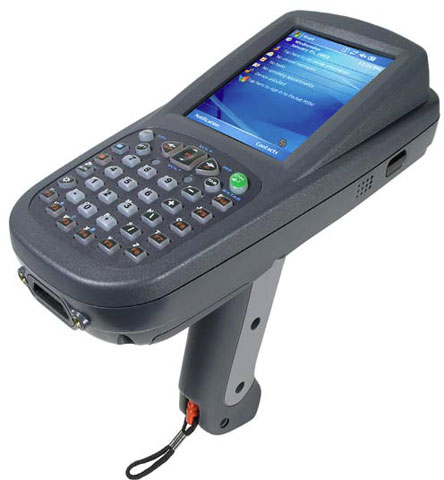
This terminal is a classic Windows Mobile device with additional modules. Under such modules we mean a hardware keyboard, multifunction scanner and an image of high class. I must say that Dolphin 7850 belongs to a class of expensive equipment, we can say this is one of the best representatives semestva. Especially since it will be interesting to compare this product with middle and junior segments.
So, connect the terminal to the USB port. Our terminal is connected to a computer via a special docking station. Windows Mobility Center normally defines this device as a device Windows Mobile. Open the folder "My Computer" and select the device. What we see inside? Everything is quite traditional.
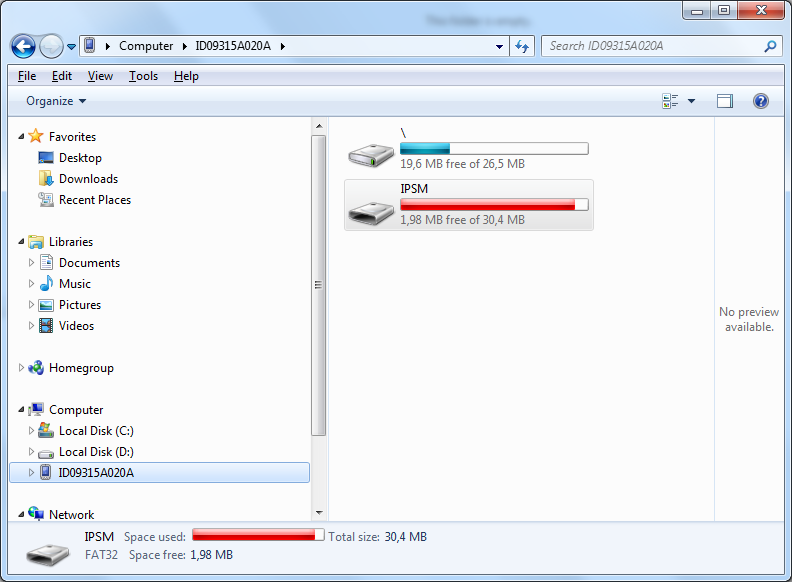
Flash memory is 64MB total volume is divided into two blocks. The system partition is 26,5 MB, an additional section titled IPSM contains a set of distributions that are required for the terminal.
In the section of greatest interest IPSM folder Autoinstall.
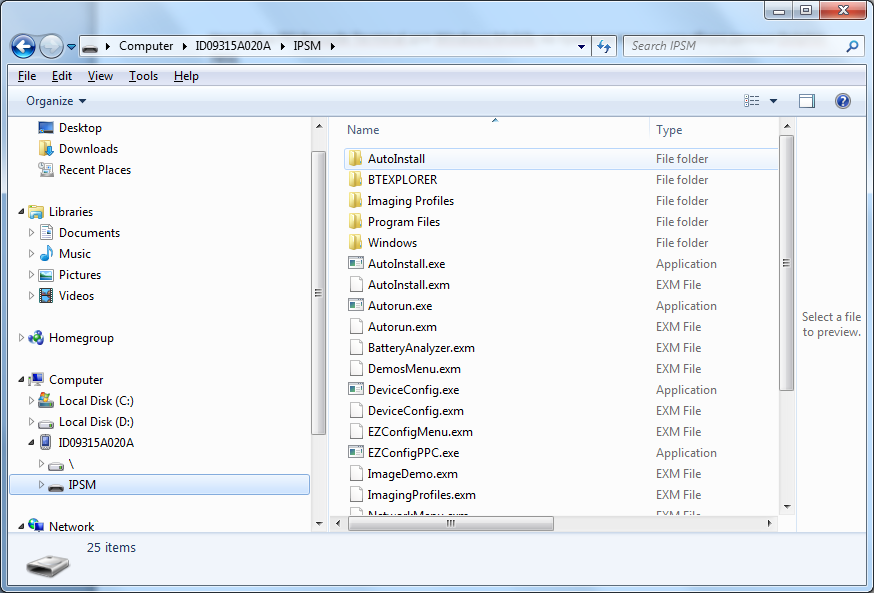
Open it.
When we perform a hard reset our terminal, the system partition removed any programs except for the operating system Windows Mobile. At system startup, it scans the folder Autoinstall and installs from it all the distributions.
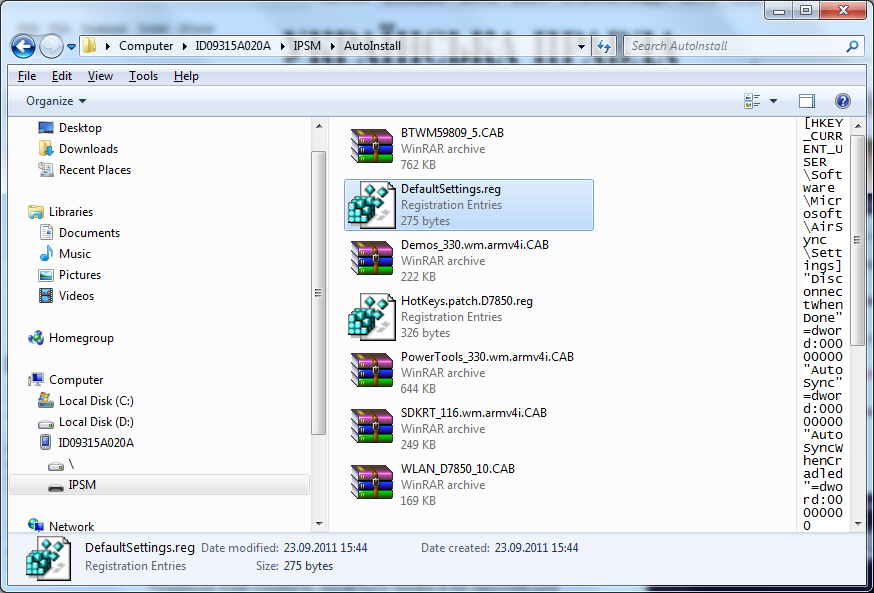
Our task is to place the folder Autoinstall few files needed to run the program.
So, copy the folder Autoinstall the following files.
- BarcodeTerminal.CAB – distributive data collection terminal.
- NETCFv35.wm.armv4i.cab -the distribution. Net Compact Framework. Required to work. Net applications.
- sqlce.ppc.wce5.armv4i.CAB –distribution of Microsoft SQL Server Compact Edition. Required for the databases. Our directory of goods with bar codes, names and quantities is typical of the database.
After we have copied the files, shall make hard reset. For this model, a combination of the red buttons and TAB, they should hold together for 5 seconds. Well, keep. Is reset, then the standard procedure of loading the system with the calibration screen by clicking on the crosses with the stylus.
Then begins an interesting. To be installed packages from the folder Autoinstall. We wait ...
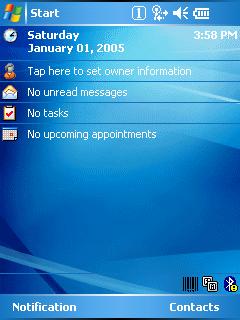
Once the installation is made, there is a reboot.
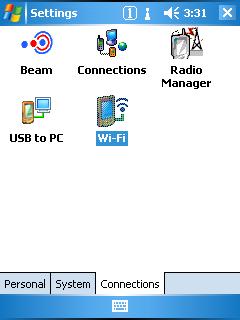
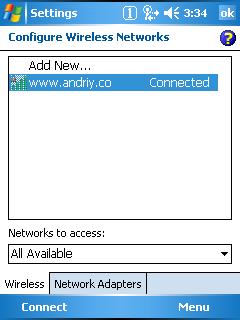
Let's start with setting up the Wi-Fi connection. In the Start menu, open Settings and click on the Connections tab Wi-Fi.
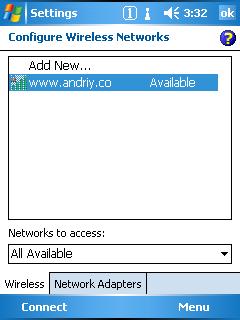
We choose in the list of detected Wi-Fi network.
We point out that connect to the Internet,
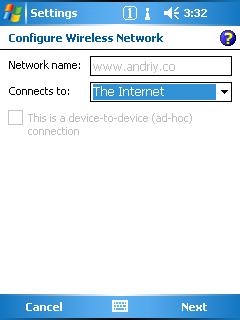
then introduce the password connect and the menu item Next,
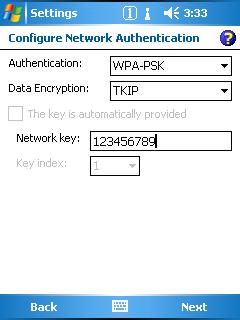
and then Finish will complete the connection setup.
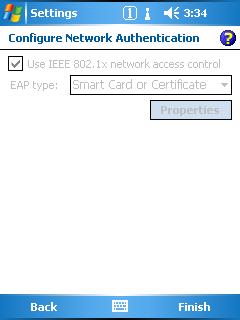
If we did everything correctly, then in front of the connection after some time to get the status of Connected.
Our model is equipped with a certain image scanner. Unlike conventional laser scanner, image scanner is a digital camera with image processor, which detects the resulting image on the barcode. In terms of quality and reliability of the reader, this scanner has certain advantages over laser and LED devices.
To service the scanner you need to run a special program - ScanWedge.
To do this in the menu «Start» select group of Power Tools

and in the resulting window run the program.
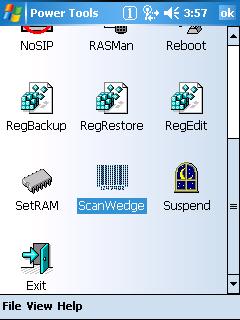
After starting in the tray on the desktop icon appears.
Now, if we press the button on the handle of the scanner, the scanner is turned on and read the bar code.
But there is little consider the bar code, you need to recognize the barcode goods and be able to save the entered quantity..
Is responsible for this application Barcode Terminal. To start it, in the Start menu select Programs and launch the program Andriy.Co Barcode Terminal.
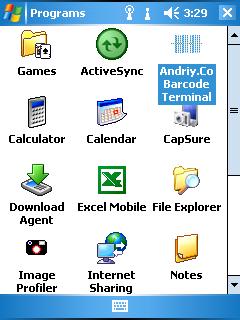
In the application must make a series of settings. Click Settings.
Open the Settings window.
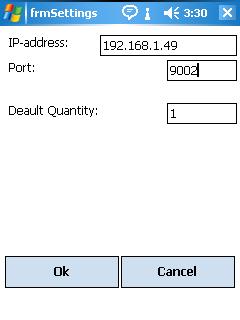
We introduce the Ip-address of the computer on which the program Barcode Terminal Hosting, port number and the number of defaults.
or more information about the interaction of the terminal data collection application with Barcode Terminal Hosting can be found here.
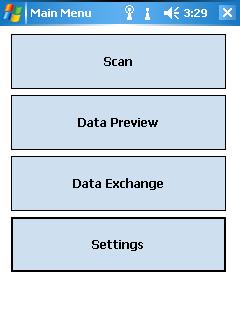
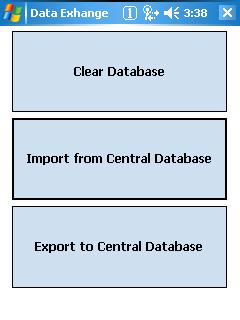
After set up, click OK and go back to the main menu. Now we can start loading data into the terminal. For this, click on Data Exchange and then Import from Central Database.
Will the download progress directory of products.
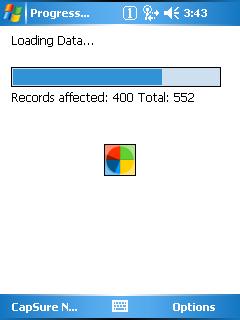
After the download is complete go back to the main menu and click on the Data Preview.

We will see a table of goods with bar codes, prices and quantities of already introduced. In our case, the Quantity column contains the value zero while, because we have not entered data on the balance.
From the main menu, press Scan.
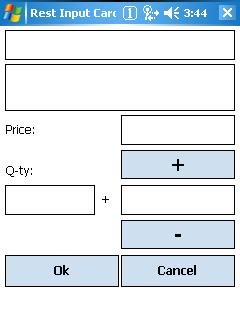
This opens a window where we can scan the barcode on a barcode name of goods from the database, and enter the actual quantity of goods in the area.
Put things on the scanner bar code products and click on the button on the handle.
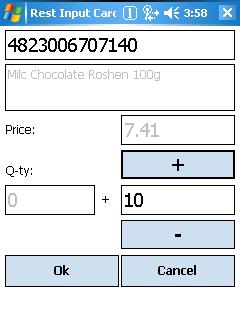
Our terminal will emit a beep and scan goods. If the goods is present in the database, the name will be displayed and the cursor moves to the Amount field. Calculate the actual amount of goods and introduce him. For your convenience, you can use the + or -. If such goods will meet in the reassessment in the future in another place, the amount will be added.

After data is collected by rediscounting can again lead the team to make Data Exchange and export data to a central database.
And finally a few comments.
- This solution is suitable for any data collection terminals based on Windows Mobile.
- Also, this solution can be used for terminals based on Windows CE. At the same time may need other bi lioteki. Net Compact Framework 3.5 and MS SQL Compact Edition.
- Data collection terminals based on Windows Mobile with this program can be used in conjunction with the terminals on the basis of Google Android.
The advantages of this application:
- This application can be used within a company data collection terminals from different manufacturers. There is no need to carry out the adaptation data individually for each model. There is also no need for additional training.
- Work using Wi-Fi. There is no need to run to the dock to merge or upload data. Moreover, the host for data exchange may be general in another city, since the exchange takes place via TCP / IP.
Useful links:
- Ведение переучета с помощью терминала сбора данных в продуктовом магазине.
- Andriy.Co Barcode Terminal Hosting application.
- Data Collection Terminal based on Google Android. ActiveX DLL. Data Exchange Programming.